


Fast forward a few months and I couldn't help myself (I recognize I have a problem). I knew I could make them cooler for very little money. That's when I decided to paint. I used the Moroccan Key Stencil (large size) from Royal Design Studio because it's way better than anything I could have cut out of tape.

Here's what I did.
Supplies:
- Curtains
- Paint - Mine is the same $5 oops paint from the Plate Wall photos and a little white
- Fabric Medium - Same bottle from the Chevron Curtains
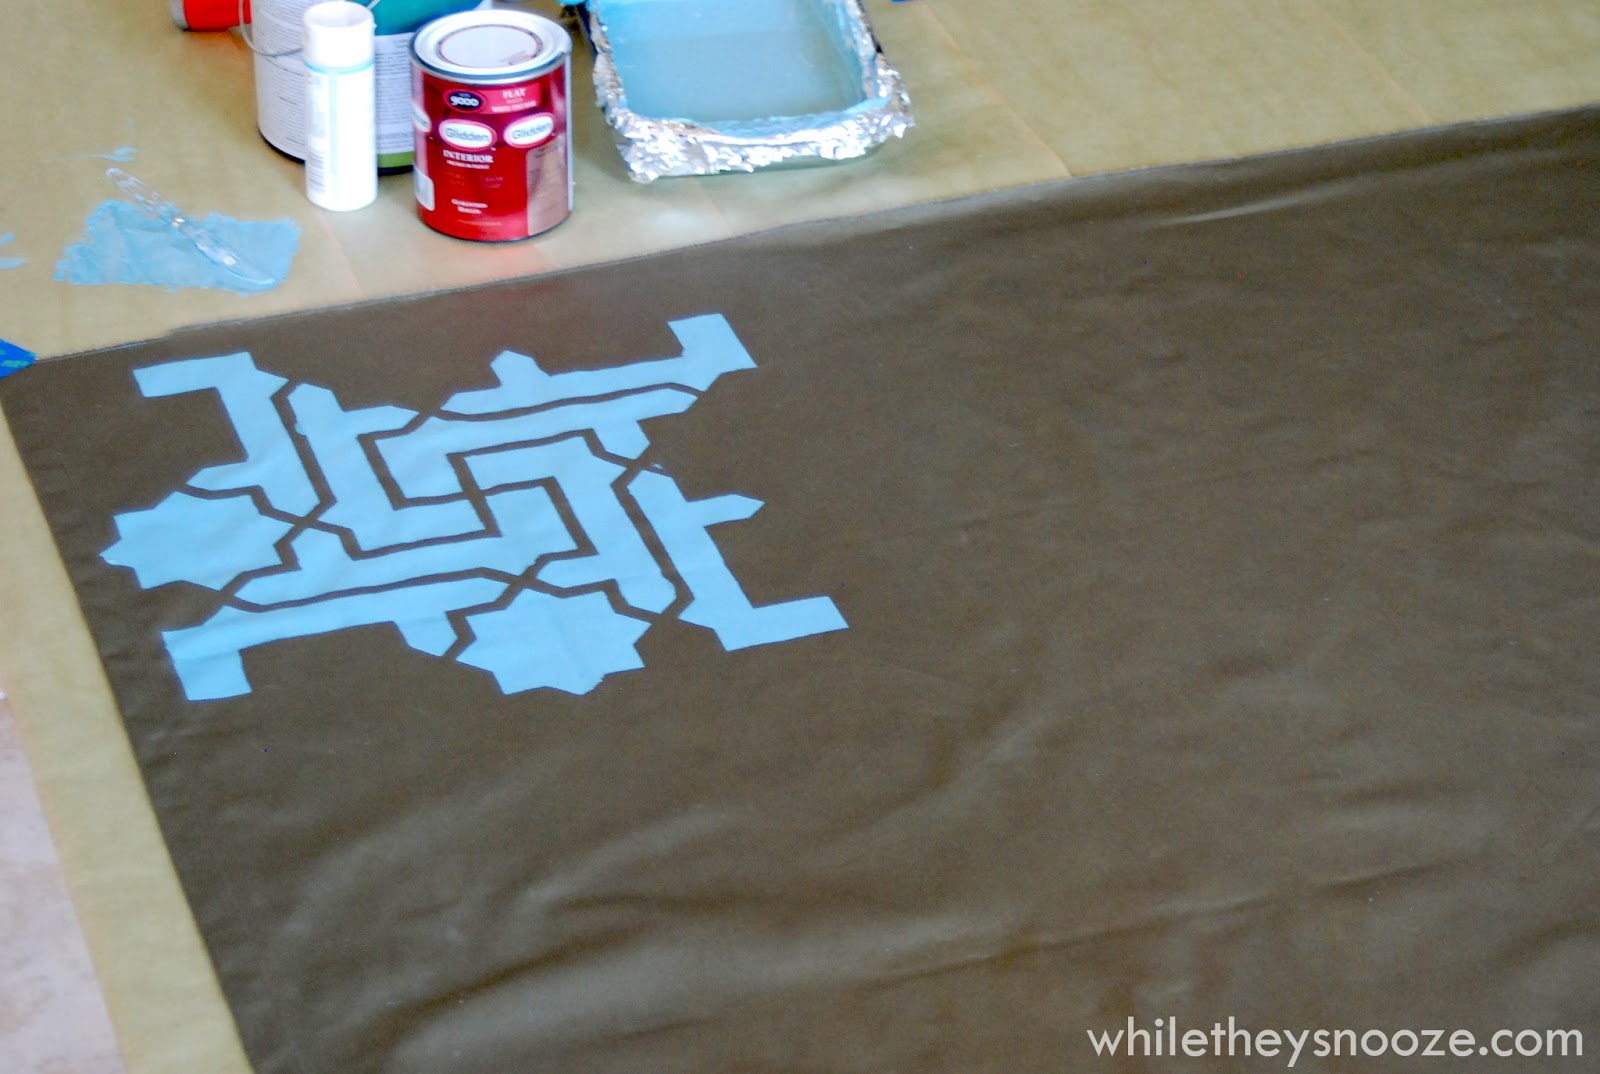
- Small tray and foam roller
- Painter's tape
- Something to protect your floor with
Step 1:
Lay out your curtain on top of some plastic or paper or tarp or whatever, and tape it down so it doesn't move on ya.

Step 2:
Mix paint and fabric medium in your tray.... or if you're like me and not willing to leave the house to buy a tray, mix paint and fabric medium in a roasting pan covered in aluminum foil. Don't judge. I eye-balled the measurements from the back of the jar. (kid is in Peter Pan tights there wanting to help)

Step 3:
Start in a corner, tape the stencil down on the edges, and roll carefully with not too much paint on the roller. (Do a happy dance when it works).

Step 4:
Keep going! Just line up your pattern with the little marks they provide for you on the stencil. Easy. My kids helped with this project too.

Step 5 (Optional):
Once I got going I thought it might be a little overwhelming to do the entire curtain in such high contrast. So, I taped off a line about 1/3 of the way up my curtain and stopped there. I might also have been motivated by the fact that it was approaching 11pm and I was having company the next day. :)

And that's it. Hang them up!


 I really like the extra layer of texture and pattern it adds to our beige box living room. I might even add an accent stripe in citrus yellow or maybe coral where the stencil stops. That could be cool. Go check out Royal Design Studio. They have so many great options AND then come back Wednesday for While They Snooze's first ever giveaway where you might be able to snag up a stencil for free! :)
Disclaimer: I was provided the Moroccan Key Stencil free of charge however, I was not compensated to write this post and my opinions are always my own. :)

Step 5 (Optional):
Once I got going I thought it might be a little overwhelming to do the entire curtain in such high contrast. So, I taped off a line about 1/3 of the way up my curtain and stopped there. I might also have been motivated by the fact that it was approaching 11pm and I was having company the next day. :)

And that's it. Hang them up!


Disclaimer: I was provided the Moroccan Key Stencil free of charge however, I was not compensated to write this post and my opinions are always my own. :)
Love the stencil pattern and color and the fact that you left these two-toned!
ReplyDeleteThat looks awesome. i would never guess it was paint! It looks like part of the fabric hanging up!
ReplyDeleteGreat job!
Laura
House Envy
Thanks Laura!
DeleteI just found your blog through knockoff.com. I love how you fancied up your curtains. At first i thought you had sewn a piece of fabric to the bottom of them. It looks great.
ReplyDeleteThanks Hayley! :) Super easy!
DeleteThis comment has been removed by a blog administrator.
ReplyDeleteI love your style and 100% share your affliction for loving the expensive stuff but not affording it.
ReplyDeleteThanks for all the great ideas on this blog. I'm a graphic designer, too, but don't have the courage or time to attempt any fine art for my walls. (Yes, we're in the same boat of "affordability," too.) Tonight I'm going to attempt to blend your bedroom chevron painting idea with this stencil curtain idea. I have a big canvas that will fill the space over my fireplace and your work here has inspired me to finally tackle the project. Thanks!!!!
ReplyDeleteHi Tarah. You're speaking my language! That's exactly how I do every project. It's like a mishmash of ideas from different places. It's sounds awesome. (Maybe it's the graphic designer in us???) Let me know how it goes. Thanks!!!
Delete